
Blocked gutters cause over one third of damp problems in British homes each year, threatening both comfort and property value. For homeowners and property managers across the United Kingdom, routine gutter maintenance is more than a chore, it is a shield against costly water damage and stubborn damp patches. This guide breaks down every step of the inspection process so you can spot and tackle issues before they turn into major repairs.
Table of Contents
- Stage 1: Assess Gutter Condition And Property Access
- Stage 2: Prepare Tools And Ensure Working Safety
- Stage 3: Clear Debris And Flush Gutter Systems
- Stage 4: Inspect Joints And Repair Minor Damage
- Stage 5: Verify Water Flow And Schedule Next Maintenance
Quick Summary
| Key Point | Explanation |
|---|---|
| 1. Conduct thorough gutter assessment | Perform a visual survey for damage signs like sagging or rust to maintain structural integrity. |
| 2. Use safety protocols during maintenance | Assemble protective gear and ensure ladder stability to avoid accidents during gutter work. |
| 3. Clear debris regularly | Remove leaves and sediment to promote proper water flow and prevent blockages in gutter systems. |
| 4. Inspect and repair gutter joints | Examine joints for cracks or separation, applying sealant or patches to prevent leaks. |
| 5. Establish a maintenance schedule | Create a regular inspection calendar to monitor gutter health and address any arising issues. |
Stage 1: Assess gutter condition and property access
Gutter assessment represents a critical initial step in preventing damp issues and maintaining your property’s structural integrity. This stage requires a systematic approach to evaluating the current state of your guttering system and determining safe access routes for thorough inspection.
Begin by performing a ground-level visual survey of your gutters, looking for visible signs of damage such as sagging sections, rust spots, or misaligned segments. Pay particular attention to joints, downspouts, and connection points where water leakage frequently occurs. The inspection methodology recommended by professional building researchers emphasises the importance of a comprehensive preliminary examination before attempting any detailed assessment.
For properties with challenging access points, consider using binoculars or a telescopic ladder to gain a better perspective without compromising safety. Examine the roof line, checking for debris accumulation, vegetation growth, and any areas where water might be pooling or not draining correctly. Prioritise identifying potential weak points that could compromise your gutter system’s functionality.
Additional considerations include assessing the surrounding property environment. Look for signs of water damage on walls, foundation, or nearby landscaping that might indicate existing gutter performance problems. Note any areas requiring closer investigation during a more detailed inspection.
Here is a summary table outlining common gutter issues and their potential impacts:
| Gutter Issue | Visual Indicators | Possible Impact |
|---|---|---|
| Sagging or misalignment | Uneven gutter line | Poor water drainage |
| Rust spots | Brown-orange discolouration | Leaks or weakened sections |
| Blocked downspouts | Overflowing gutters | Foundation or wall dampness |
| Joint separation | Visible gaps at connections | Water leakage or dripping |
| Vegetation growth | Plants visible in guttering | System blockage, faster decay |
Professional tip: Always prioritise personal safety when conducting gutter assessments. If your property has complex architectural features or significant height challenges, consider engaging a professional gutter maintenance specialist who can perform a comprehensive and safe evaluation.
Below is a comparison of professional versus DIY gutter maintenance approaches:
| Factor | Professional Service | DIY Inspection |
|---|---|---|
| Safety | High, with specialist gear | Moderate, depends on user |
| Expertise | Extensive, trained staff | Limited, based on experience |
| Cost | Higher initial outlay | Lower, tool/hire costs only |
| Thoroughness | Comprehensive inspection | May miss hard-to-reach spots |
| Time commitment | Minimal for homeowner | Significant personal time |
Stage 2: Prepare tools and ensure working safety
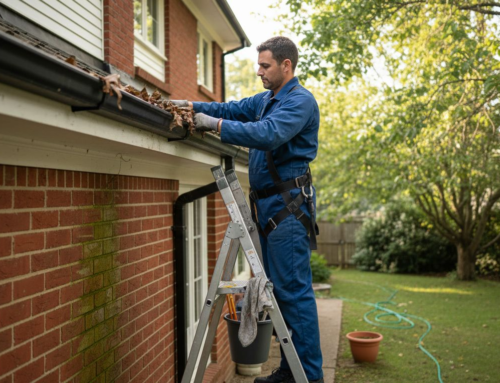
Before embarking on gutter maintenance, you must assemble the right equipment and establish comprehensive safety protocols. This preparatory stage involves carefully selecting appropriate tools and implementing robust safety measures to protect yourself during the inspection and potential repair process.

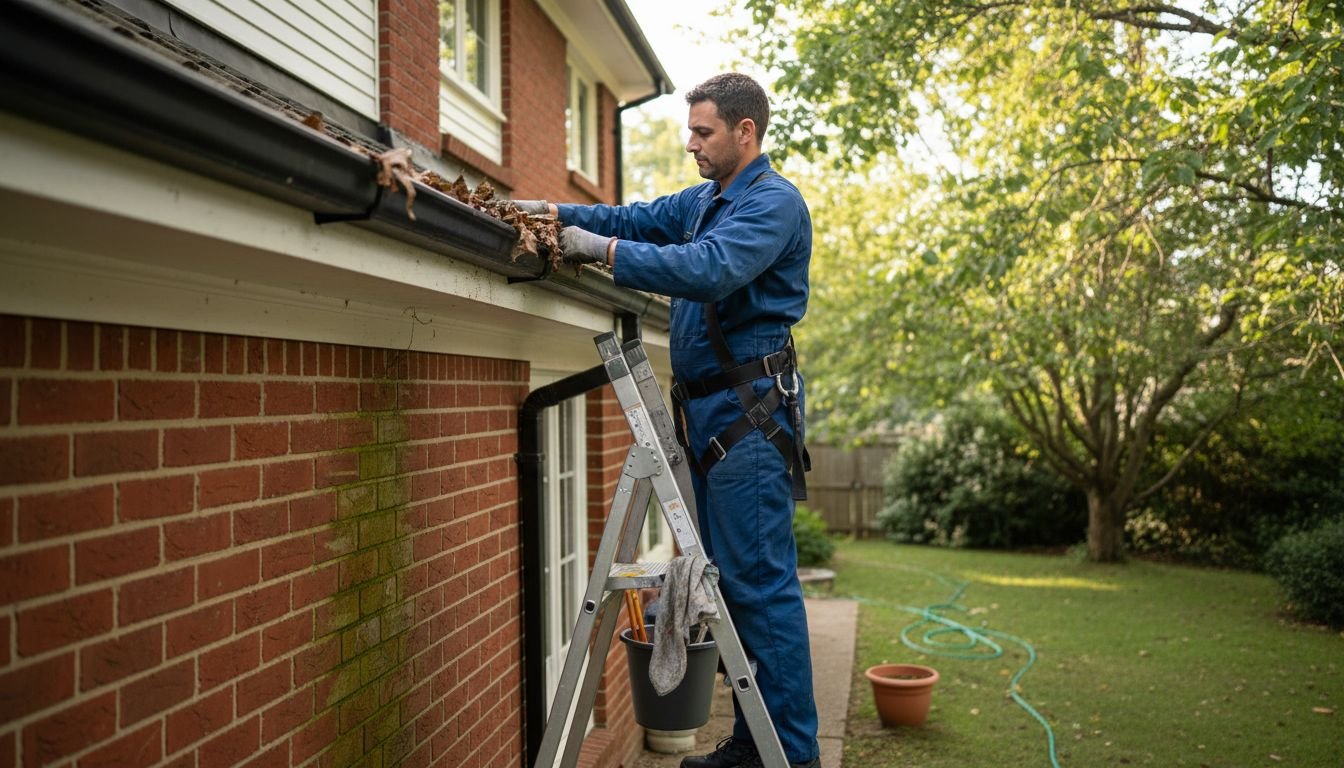
Start by gathering essential protective gear including a sturdy ladder with non slip feet, robust work gloves, safety glasses, and a robust hard hat. Construction safety protocols recommend a systematic approach to tool preparation and personal protection that minimises potential risks during elevated maintenance work. Choose a ladder that extends at least one metre above the gutter line and ensures stable ground contact, preferably with adjustable legs for uneven surfaces.
Your toolkit should include specific gutter maintenance items such as a gutter scoop, pressure washer or garden hose, extendable cleaning attachments, waterproof sealant, protective tarpaulin, and a reliable pair of wire cutters for removing debris. Inspect each tool before use to confirm it is in excellent working condition with no structural damage or wear that might compromise safety.
Carefully assess your physical capabilities and the complexity of the task. Some gutter maintenance activities require significant physical strength and balance. If you feel uncertain about performing the work safely, it is always recommended to engage professional gutter maintenance specialists who can execute the task with minimal risk.
Professional tip: Always maintain three points of contact when using a ladder and never overreach. Position the ladder at the correct angle about 75 degrees from horizontal ground, ensuring maximum stability during your gutter maintenance work.
Stage 3: Clear debris and flush gutter systems
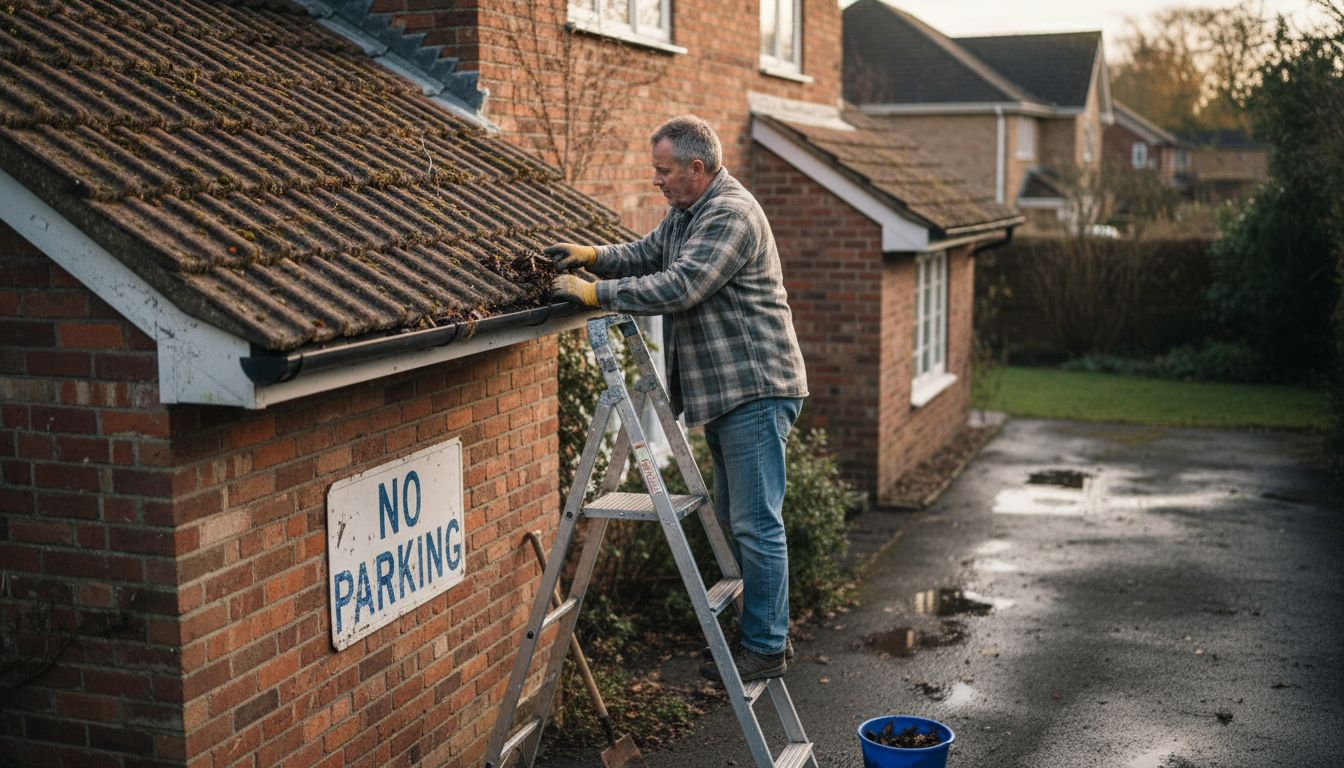
Clearing debris and flushing your gutter systems represents a critical maintenance task that prevents water damage and protects your property’s structural integrity. This stage requires a methodical approach to removing accumulated materials and ensuring unobstructed water flow through your drainage system.
Systematic debris removal procedures recommended by maintenance professionals involve carefully extracting leaves, twigs, sediment, and organic matter using a gutter scoop or gloved hands. Begin at the downspout and work methodically along the gutter length, placing removed debris into a bucket or tarpaulin to prevent ground mess. Pay special attention to corners and joints where blockages most frequently develop, ensuring you remove all potential water flow impediments.
After manual debris removal, use a garden hose to flush the entire gutter system thoroughly. Direct water through the guttering to test flow and identify any remaining blockages or potential leakage points. Watch how water moves through the system checking for smooth drainage and examining whether water exits cleanly through the downspouts without pooling or overflowing. This flushing process helps identify potential structural issues or misalignments that might require more comprehensive repair.
Should you encounter persistent blockages or notice signs of significant gutter damage during cleaning, consider professional gutter cleaning services that can provide more intensive maintenance and repair. Complex gutter systems or properties with extensive vegetation nearby might require more frequent and specialised cleaning approaches.
Professional tip: Schedule gutter cleaning at least twice annually autumn and spring to prevent debris accumulation and maintain optimal water drainage performance.
Stage 4: Inspect joints and repair minor damage
Inspecting gutter joints and addressing minor damage represents a critical preventative maintenance step that can save you significant repair costs and protect your property from potential water damage. This stage requires careful examination and strategic repair of vulnerable connection points in your gutter system.
Systematic joint inspection techniques recommended by building maintenance experts involve a comprehensive visual assessment of every gutter connection. Look closely for signs of corrosion, separation, or hairline cracks that could compromise water flow. Use a bright torch to illuminate dark corners and examine joints from multiple angles, paying special attention to areas where different gutter sections meet or where downspouts connect to the main gutter line.
When you identify minor damage, select an appropriate waterproof sealant matching your gutter material. For metal gutters, use a silicone based sealant that provides flexibility and long lasting protection. Clean the damaged area thoroughly with a wire brush to remove any rust or debris before applying the sealant. Apply the product carefully along the joint line ensuring complete coverage and smooth application. Allow sufficient drying time as specified by the manufacturer before testing the repaired section with water flow.
For slightly more extensive damage such as small holes or significant rust spots, you might need to use a specialised gutter repair patch or consider replacing a short section of the gutter. Measure the damaged area precisely and cut a repair patch slightly larger than the affected region to ensure complete coverage and a watertight seal.
Professional tip: Conduct joint inspections during dry daylight conditions for the most accurate assessment and always wear protective gloves when handling potentially sharp gutter edges.
Stage 5: Verify water flow and schedule next maintenance
The final stage of gutter maintenance involves confirming your system’s effectiveness and establishing a proactive ongoing care strategy. This critical step ensures your gutters continue performing optimally and prevents potential water damage to your property.
Systematic water flow verification techniques recommended by drainage management experts involve conducting a comprehensive water flow test. Run water through the entire gutter system using a garden hose, observing how it moves through each section. Watch carefully for smooth, uninterrupted flow and check that water exits cleanly through downspouts without pooling or overflowing. Pay attention to any unusual dripping, leaking, or slow drainage that might indicate underlying issues requiring further investigation.

Develop a structured maintenance schedule tailored to your property’s specific environmental conditions. Properties surrounded by trees might require more frequent inspections three to four times annually, while homes in areas with less vegetation could manage with biannual checks. Document your findings from each maintenance session, creating a comprehensive record that tracks your gutter system’s condition over time. This approach allows you to identify potential developing issues before they escalate into costly repairs.
Consider creating a digital or physical maintenance calendar that reminds you of upcoming gutter inspection dates. Mark specific times in spring and autumn as your primary maintenance windows, which align with seasons when debris accumulation is typically most significant. Include specific notes about your previous inspections, repairs made, and any observations that might help you track your gutter system’s long term performance.
Professional tip: Photograph your gutters during each maintenance session to create a visual record that helps you track changes and potential developing issues more effectively.
Protect Your Property From Damp With Expert Gutter Maintenance
Blocked or damaged gutters can lead to serious damp problems that threaten your home or commercial property. The Gutter Maintenance Guide for Damp Prevention Success highlights the importance of assessing gutter condition, clearing debris, inspecting joints, and verifying water flow to stop leaks and water damage. If you are concerned about sagging gutters, rust spots, or blocked downspouts, these are key warning signs that demand prompt attention to safeguard your building’s structural health.
Don’t leave your property at risk. Our professional team at Local Gutter Cleaner specialises in thorough gutter cleaning and repair services that deliver lasting protection. We prioritise safety and detailed inspection to identify problems before they escalate, ensuring your gutters function flawlessly year-round. Take control of damp prevention today by requesting a quote or contacting us for expert advice. Trust in a local, reliable partner who understands how vital routine gutter maintenance is for your peace of mind.
Frequently Asked Questions
How do I assess the condition of my gutters?
Begin by performing a visual survey from the ground, checking for signs of damage like sagging or rust. Use binoculars or a telescopic ladder for a closer look, focusing on joints and downspouts to identify potential leakage points.
What tools do I need for gutter maintenance?
Gather essential tools including a sturdy ladder, gloves, safety glasses, a gutter scoop, and a garden hose. Ensure each tool is in good condition before use to maintain safety during your inspection and cleaning process.
How often should I clean my gutters to prevent damp issues?
Schedule gutter cleaning at least twice a year, ideally in spring and autumn. Frequent inspections may be necessary for properties surrounded by trees to eliminate debris accumulation and maintain optimal water drainage.
What should I do if I find minor damage during my inspection?
If you notice minor damage like cracks or separations, use a waterproof sealant suitable for your gutter material to repair the affected areas. Clean the damaged section first, then apply the sealant for a watertight seal, and allow it to dry according to the manufacturer’s instructions.
How can I verify that my gutter system is functioning properly?
Run water through your entire gutter system using a garden hose, checking for smooth drainage and ensuring water exits the downspouts without pooling. Document your findings to track any changes in performance over time.
What are common signs that my gutters might need professional help?
Look for persistent blockages, overflowing gutters, or water damage on the walls or foundation of your property. If you encounter extensive damage or significant debris buildup, consider hiring a professional for a thorough evaluation.


Leave A Comment